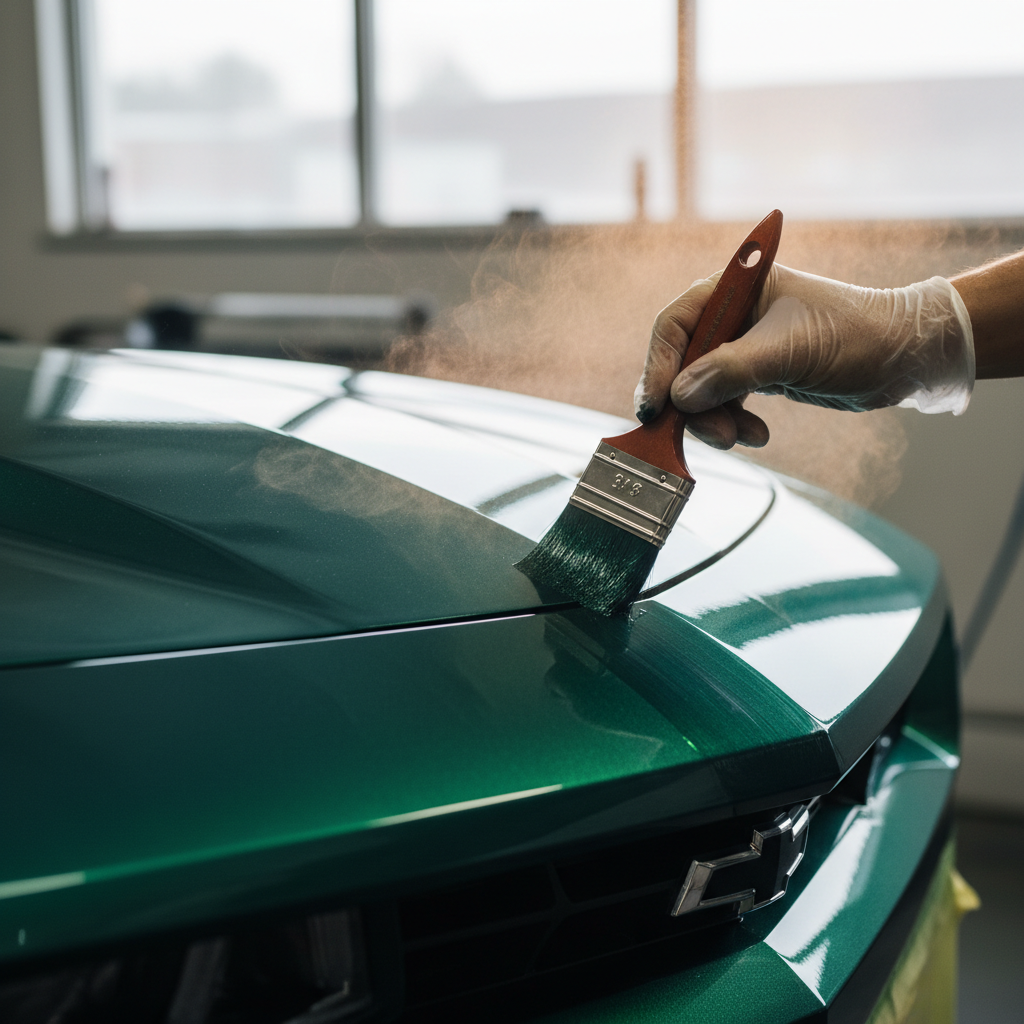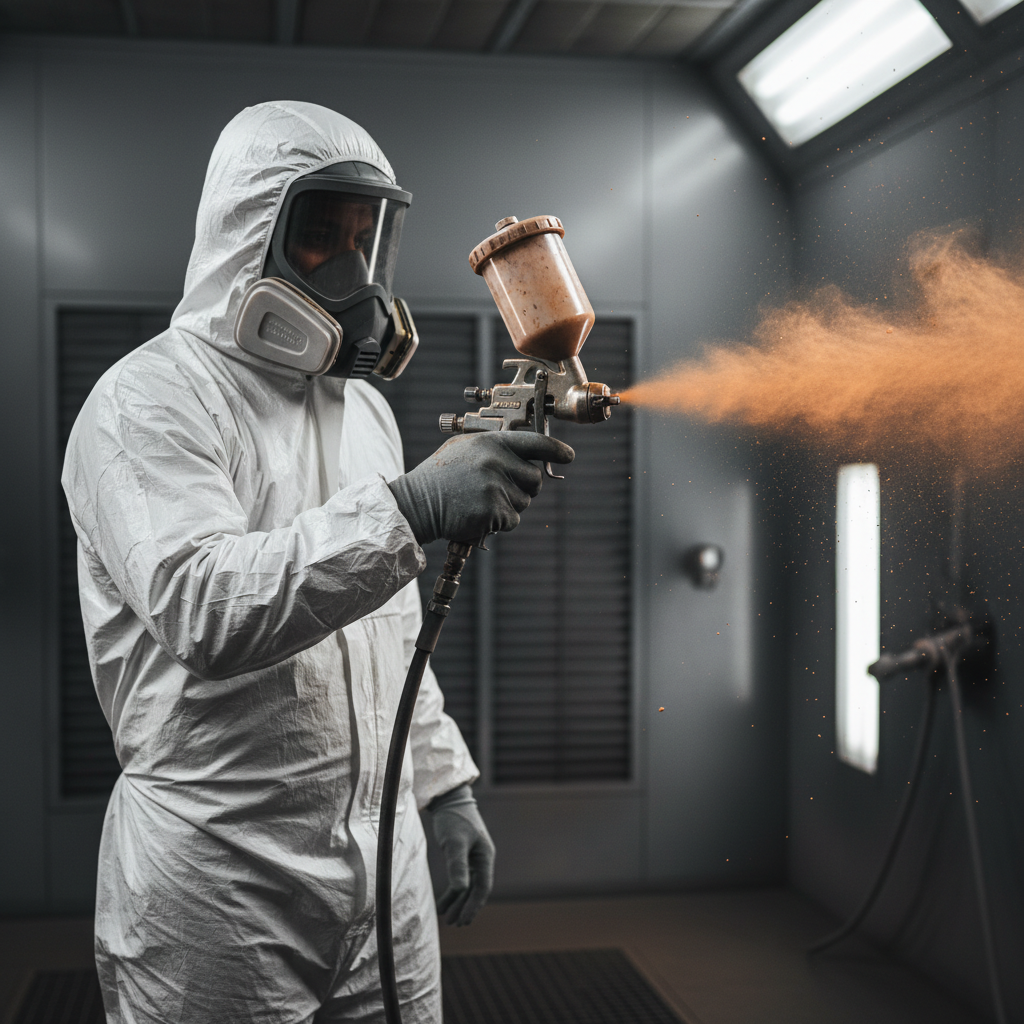
Automotive painter in full protective gear holding spray gun mid-trigger, amber-orange metallic mist frozen in air against charcoal spray booth backdrop
Spray Booth Open

Respray Auto Finishing

Every Color
Tells a Body
Shop Story

We'll show you exactly what separates a $400 respray from a $4,000 restoration finish — and where your car falls on that spectrum.

Three real jobs. Side-by-side comparisons. No guessing.

Not Sure What You Need?
23 yrsIn the booth
4,200+Panels finished
100%Waterborne certified

The Comparison

Three Jobs. Three Budgets.
One Honest Breakdown.

Scroll through a bumper blend, a full-panel collision repair, and a concours bare-metal restoration. Each table shows prep stages, material grades, booth hours, and coat layers side by side — so you understand why results differ, not just that they do.

Tier 1 — Blend RepairTier 2 — Panel RepairTier 3 — Full Restoration
Tier 1 — Blend Repair2019 Honda Accord Sport

The Parking-Lot Rash That Looks Worse Than It Is

$380–$520Minor Bumper Blend

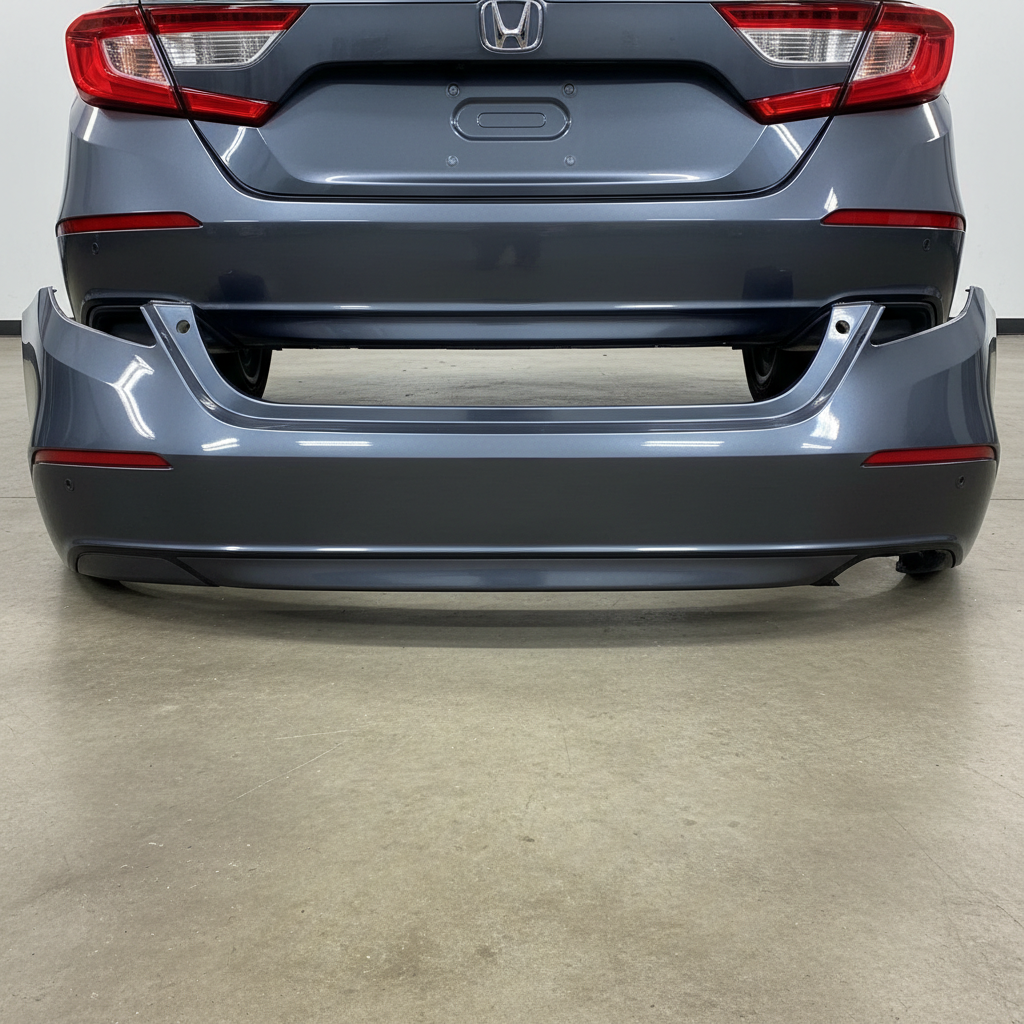
A 2019 Accord came in with a scuff across the lower bumper — paint lifted, primer visible, edges feathered by a previous DIY attempt. The goal: blend new base coat into the existing finish so the repair disappears under any light angle.
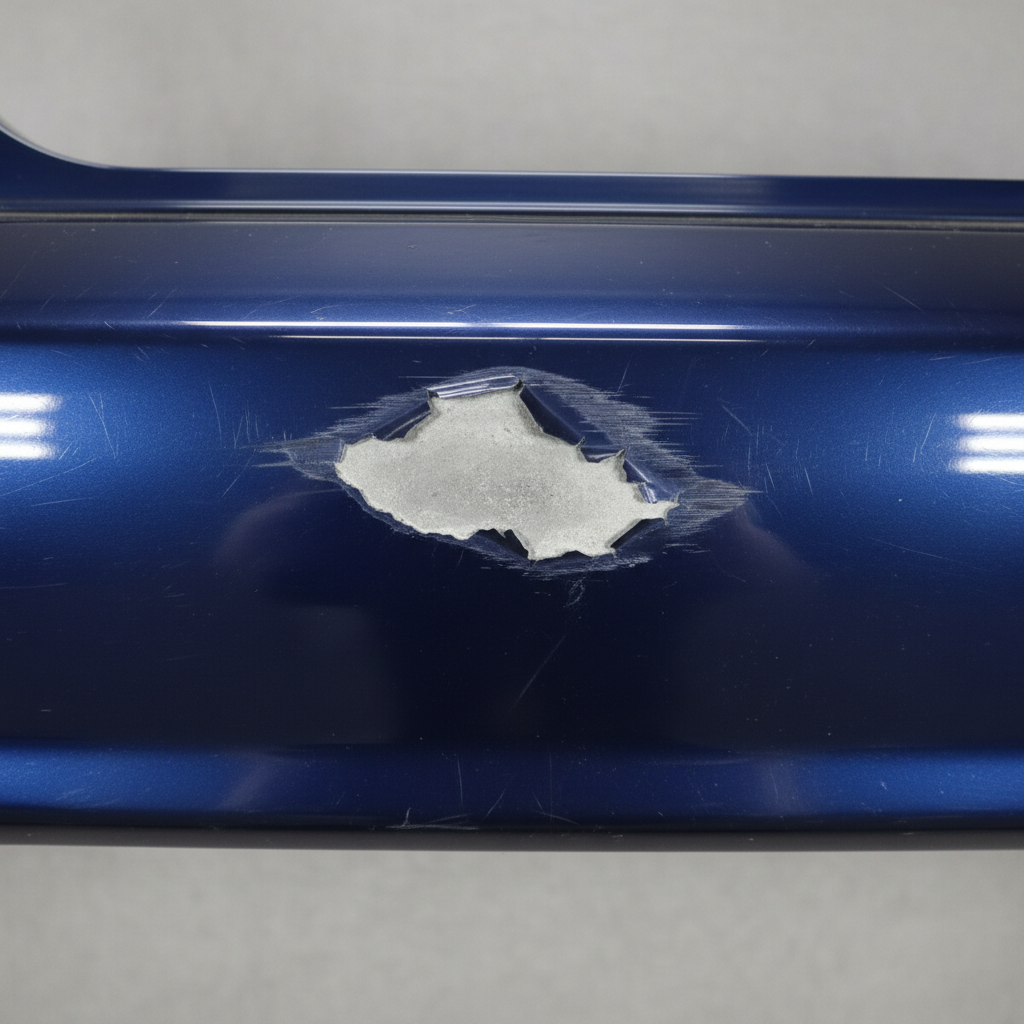
Close-up of Honda Accord rear bumper showing paint scuff with lifted edges and exposed primer, harsh overhead fluorescent lighting
Before
Repaired Honda Accord rear bumper reflecting overhead light evenly, seamless color match with surrounding panels
After
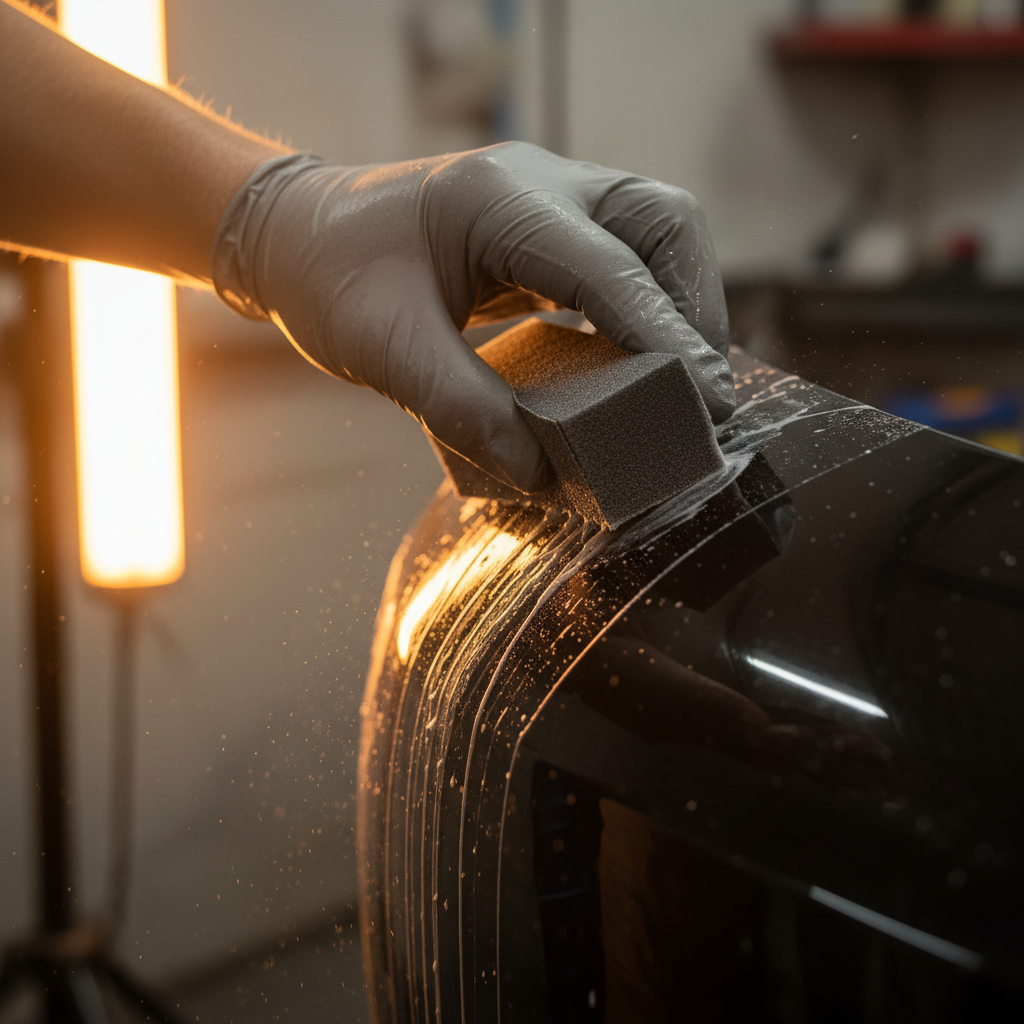
Technician wet-sanding bumper edge with 400-grit paper under amber work light
01 — Feather & Sand

400-grit dry-sand to feather existing edges. No filler needed — surface is structurally sound.
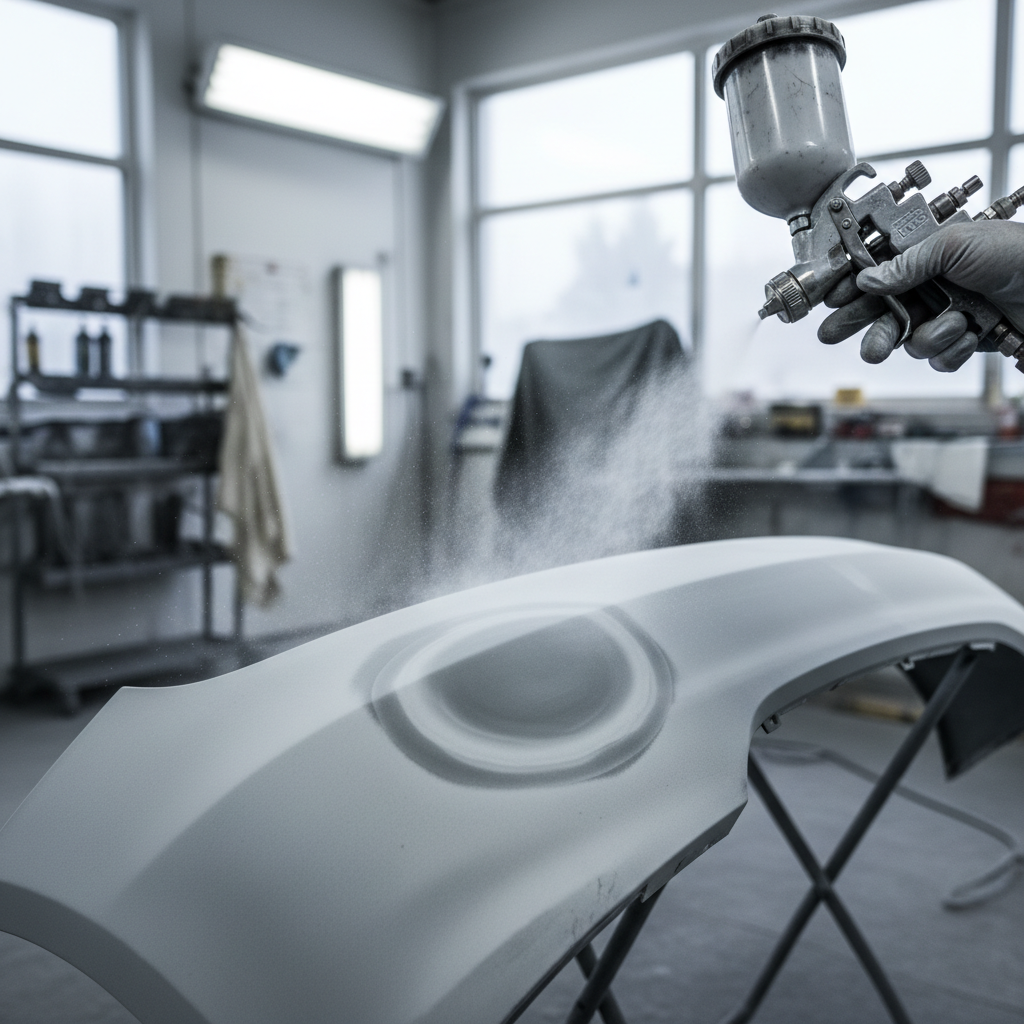
Spray gun applying grey spot primer to sanded bumper area, mist visible in air
02 — Spot Primer

2K spot primer sealed over bare area. Blocked flat at 600 before base coat.
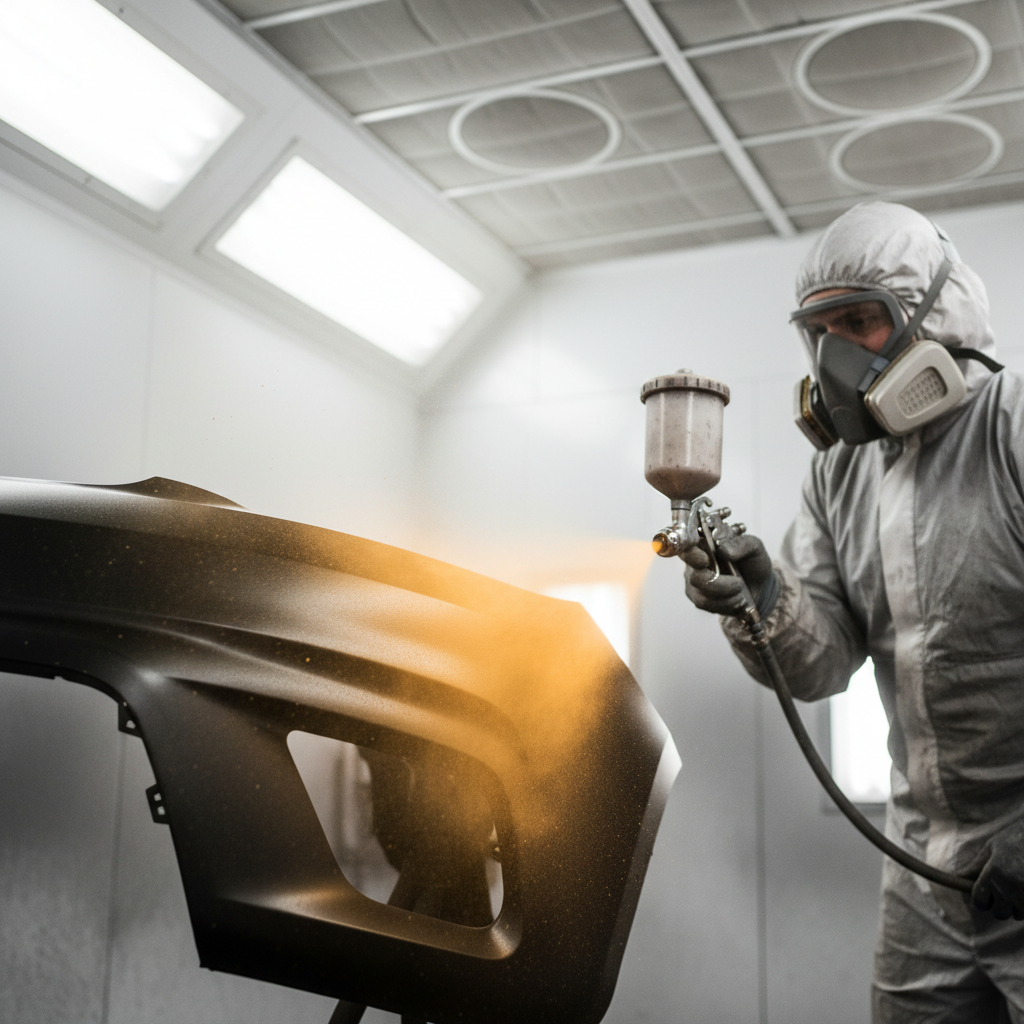
Painter applying base coat to bumper, color fanning out in amber-toned mist under booth lights
03 — Base Coat Blend

OEM-matched waterborne base applied in 3 medium coats, blending 8 inches into adjacent panel.

Aspect
Tier 1 — Blend
Tier 2 — Panel
Tier 3 — Restoration
Surface Prep400-grit dry sand + feather80→320-grit block sandFull bare-metal strip, phosphoric acid wash
Filler / Primer2K spot primer onlyPolyester filler + 2K high-build primerEpoxy primer + 2K urethane sealer, 2 coats
Base CoatOEM waterborne, 3 coats (blend)OEM waterborne, 3 full-panel coatsCustom-mixed waterborne, 4–5 coats + flop adjustment
Clear Coat2K clear, 2 coats2K clear, 2 coats + wet sand2K clear, 3 coats + cut & polish
Booth Time2–3 hrs5–7 hrs18–26 hrs across 3 sessions
Cure MethodAmbient temp, 24 hrsForced-air 140°F, 45 minInfrared lamp 160°F, staged cure per coat
Typical Price Range$380–$520$900–$1,600$3,200–$5,500+

Our Assessment

Tier 1 is the right call here. The substrate is intact, the scuff is shallow, and a proper blend with quality waterborne base disappears completely. Paying for full-panel prep on this job wastes money without improving the result.
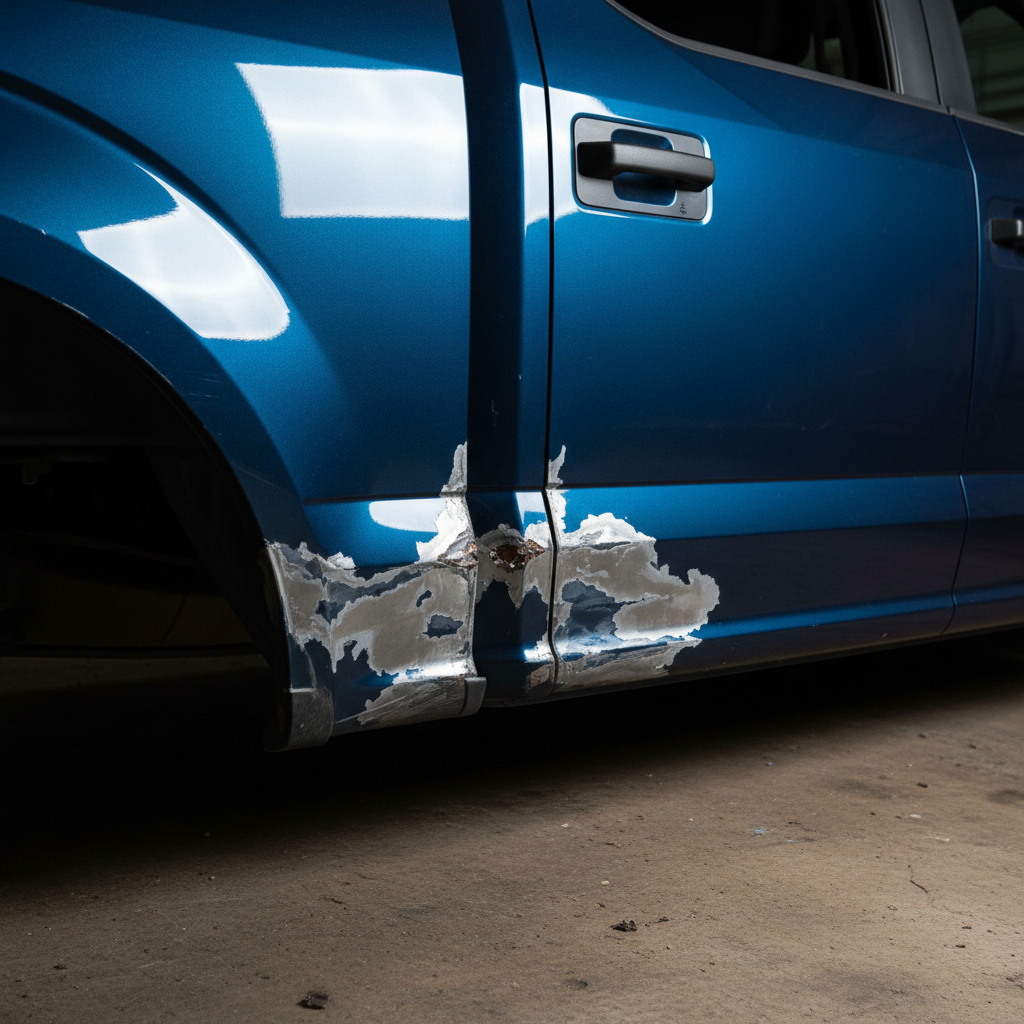
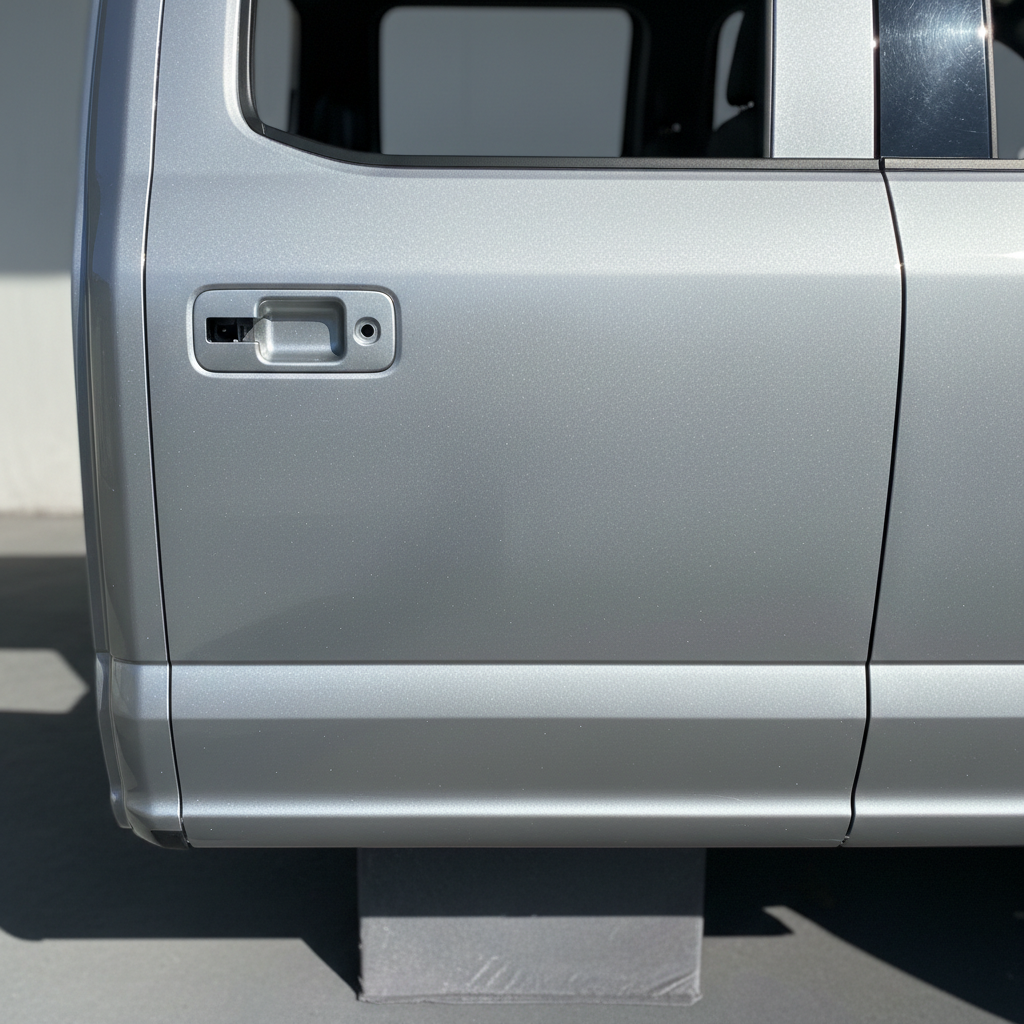
Tier 2 — Panel Repair2017 Ford F-150 XLT

The Side-Swipe That Needs More Than a Blend

$900–$1,600Full-Panel Collision Repair

A 2017 F-150 arrived with a crumpled rear quarter from a parking-structure column. Bodywork brought the metal back to within 1mm of spec; now the paint system needs to match a factory tri-coat silver with visible flake across a full 22-square-foot panel.

Ford F-150 rear quarter panel showing deep collision crease and chipped paint under harsh fluorescent workshop lighting
Before
Repaired Ford F-150 quarter panel showing perfect metallic silver finish with flake visible in sunlight, seamless transition to door
After
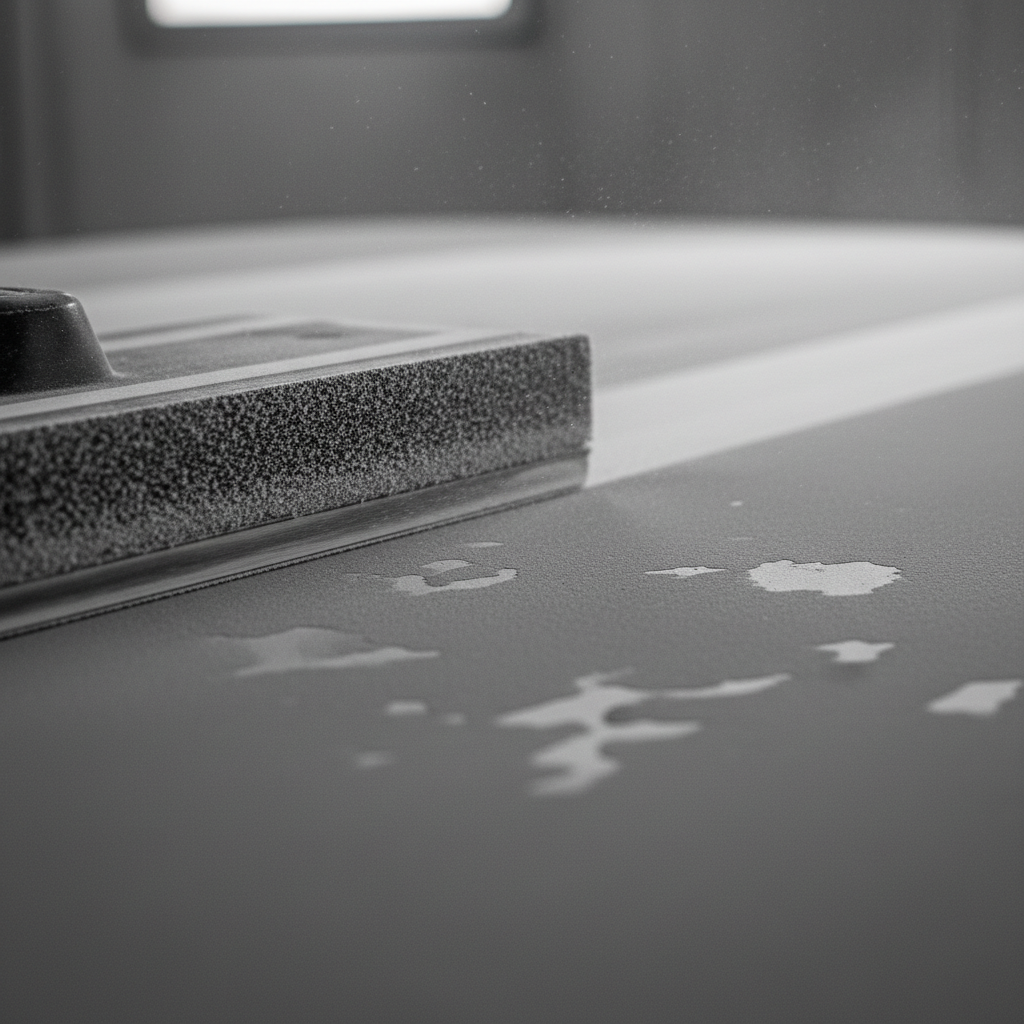
Long sanding block moving across grey primer surface under raking booth light, showing low spots as darker patches
01 — Block Sand

Entire panel blocked flat at 80, 180, then 320-grit. Low spots filled with polyester. Raking light reveals every imperfection.

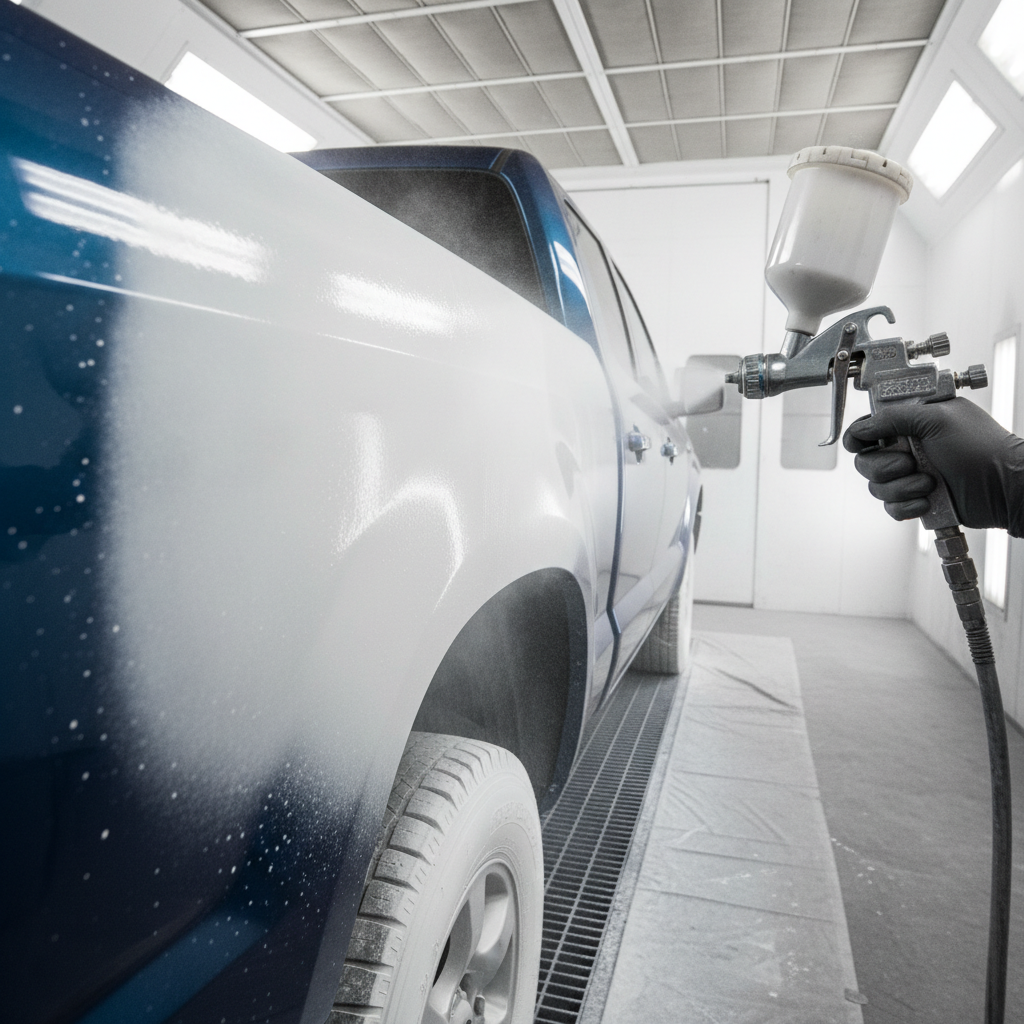
Spray gun applying white high-build primer across full truck quarter panel in spray booth
02 — High-Build Primer

2K high-build primer applied in 3 coats, baked at 140°F. Guide coat applied, blocked to 400 before base.

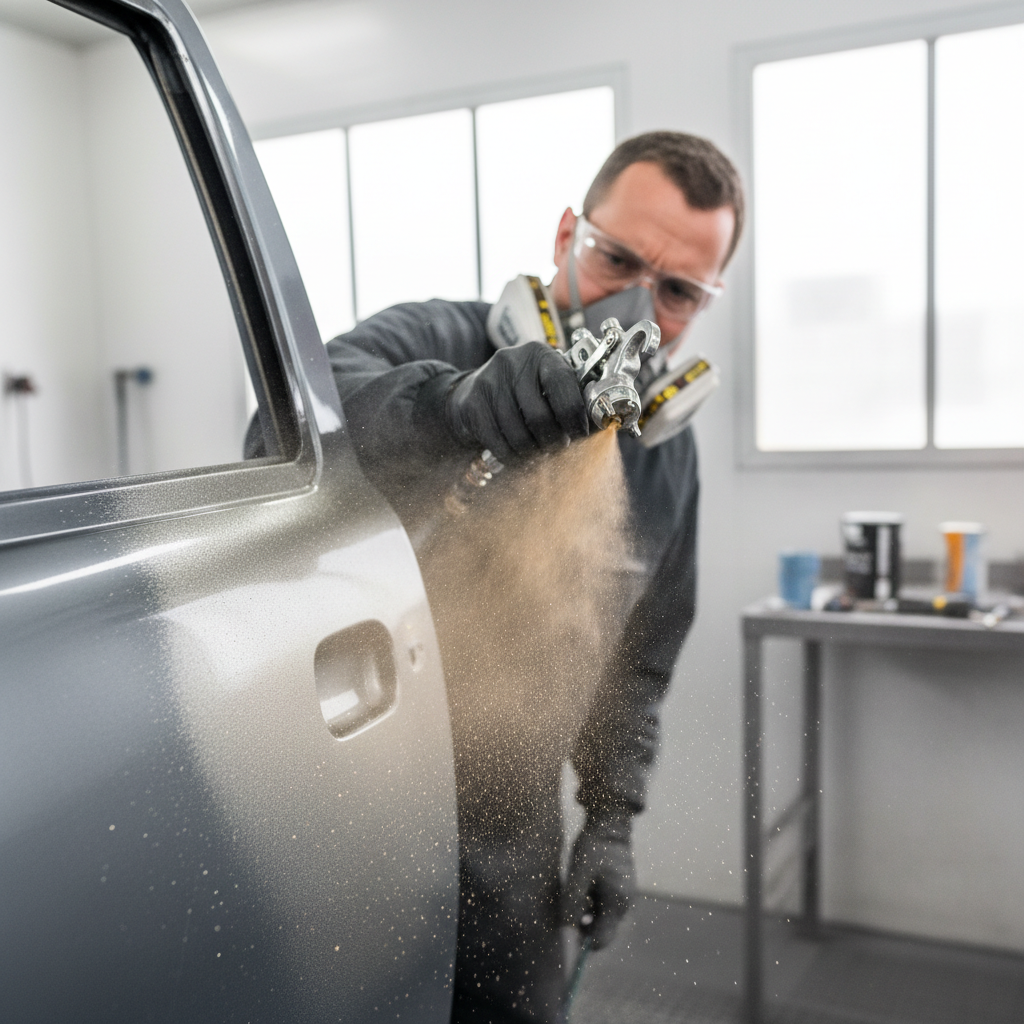
Painter applying silver metallic base coat to truck panel, metallic flake visible in amber-tinted mist
03 — Tri-Coat Base

Silver base in 3 coats. Flop angle matched under 3-point lighting. Adjacent door blended on final pass.

Aspect
Tier 1 — Blend
Tier 2 — Panel
Tier 3 — Restoration
Surface Prep400-grit dry sand + feather80→320-grit block sandFull bare-metal strip, phosphoric acid wash
Filler / Primer2K spot primer onlyPolyester filler + 2K high-build primerEpoxy primer + 2K urethane sealer, 2 coats
Base CoatOEM waterborne, 3 coats (blend)OEM waterborne, 3 full-panel coatsCustom-mixed waterborne, 4–5 coats + flop adjustment
Clear Coat2K clear, 2 coats2K clear, 2 coats + wet sand2K clear, 3 coats + cut & polish
Booth Time2–3 hrs5–7 hrs18–26 hrs across 3 sessions
Cure MethodAmbient temp, 24 hrsForced-air 140°F, 45 minInfrared lamp 160°F, staged cure per coat
Typical Price Range$380–$520$900–$1,600$3,200–$5,500+

Our Assessment

Tier 2 is the appropriate spec. The bodywork is complete; now the paint system needs to hold long-term without witness lines. Skimping on primer thickness here means the filler edge telegraphs through the clear after the first summer.

Tier 3 — Full Restoration1969 Chevrolet Camaro SS

Fifty-Five Years of Rust, One Month of Process

$3,200–$5,500+Concours Bare-Metal Restoration

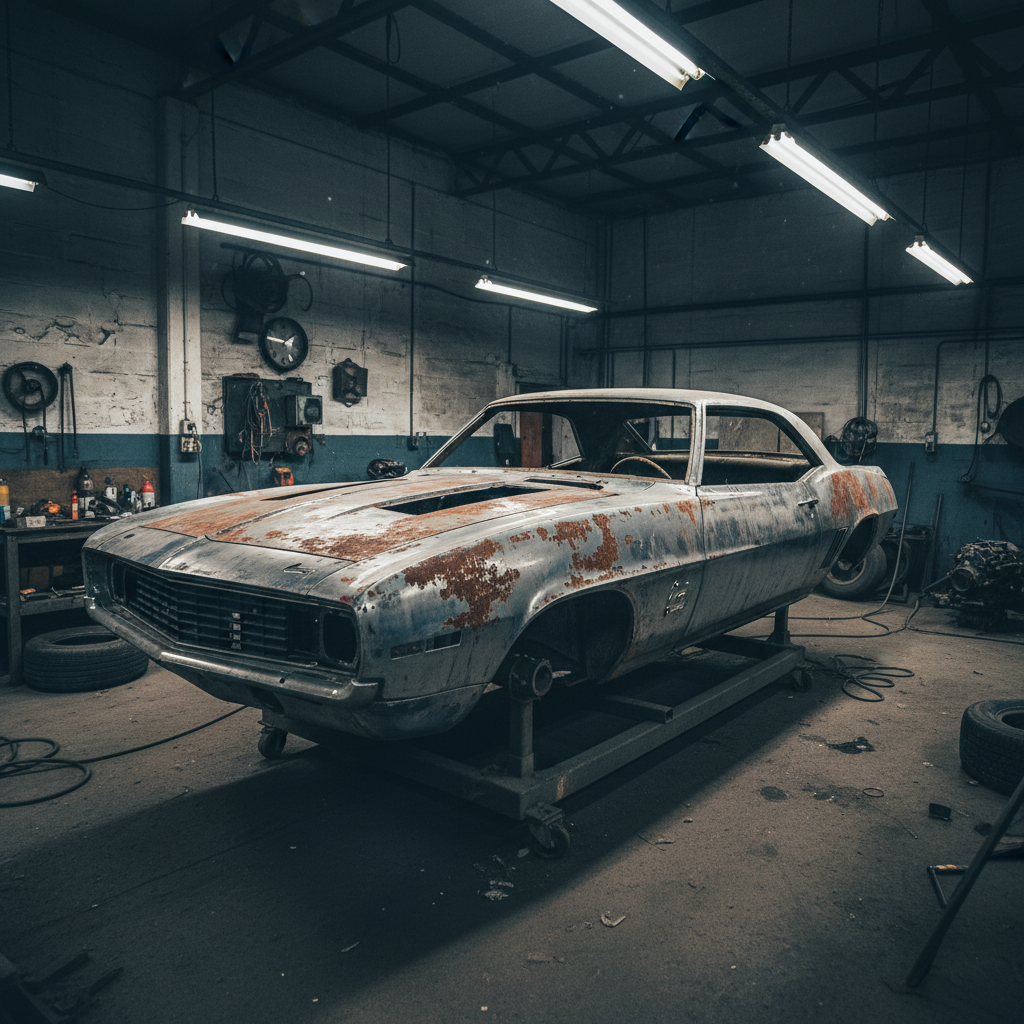
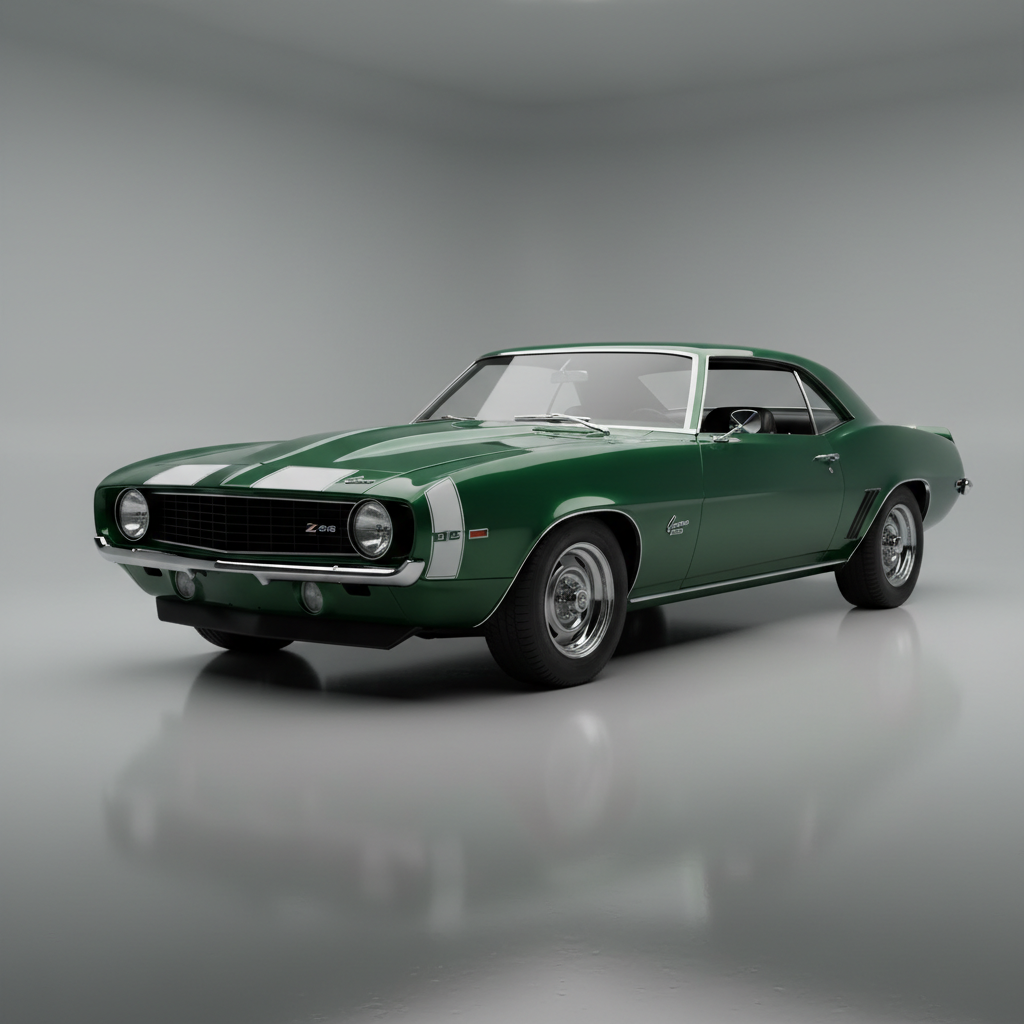
A frame-off '69 Camaro restoration — bare metal after media blasting, surface rust treated, every body line re-straightened. The owner specified factory Fathom Green Pearl, a tri-stage that hasn't been in production for decades. We mixed it from scratch.

Classic Camaro body shell showing bare metal with surface rust patches and old paint striped away, under harsh workshop fluorescent lighting
Before
Fully restored 1969 Chevrolet Camaro SS in deep green pearl finish reflecting studio lighting, concours-quality gloss depth visible
After
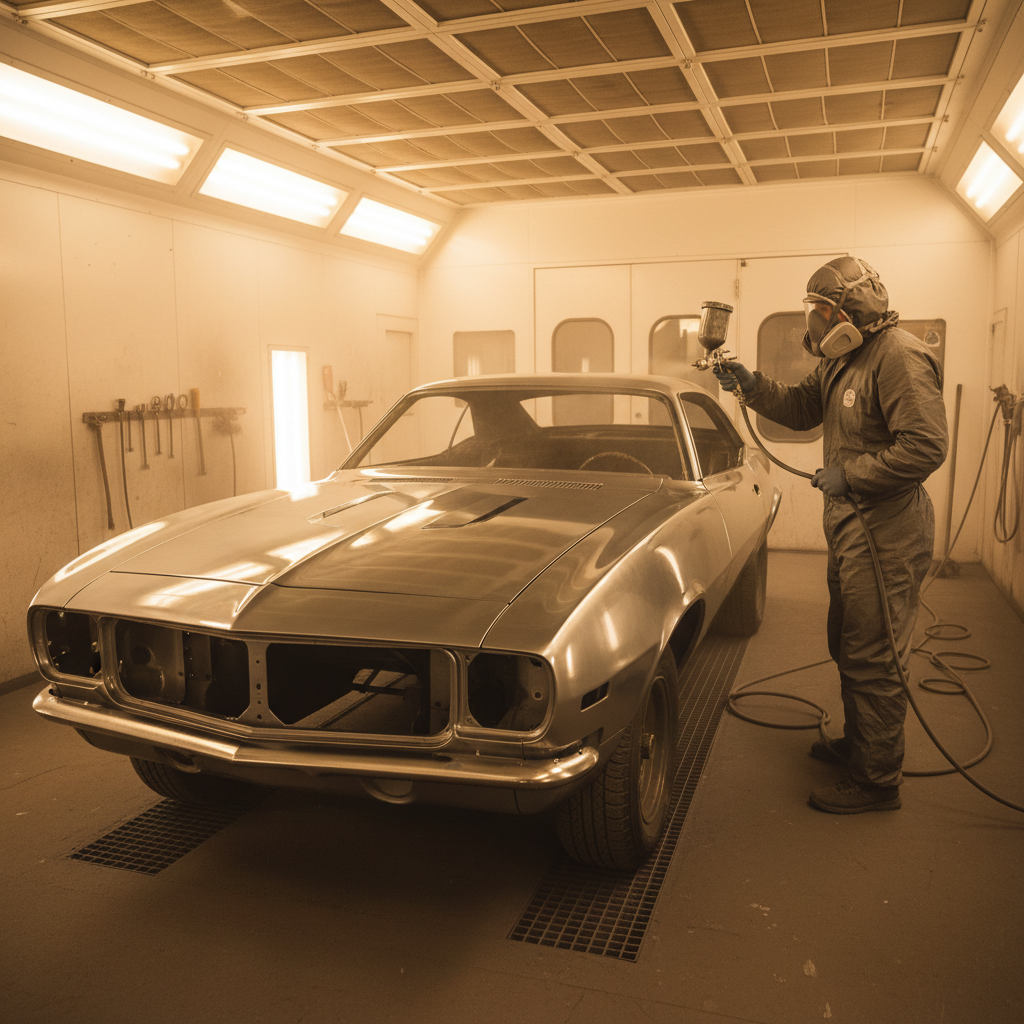
Technician spraying grey epoxy primer onto bare metal Camaro body, wet coat visible under amber booth light
01 — Epoxy Primer

Two coats of epoxy primer directly to bare metal within 4 hours of blasting. Zero flash time between coats for maximum corrosion encapsulation.

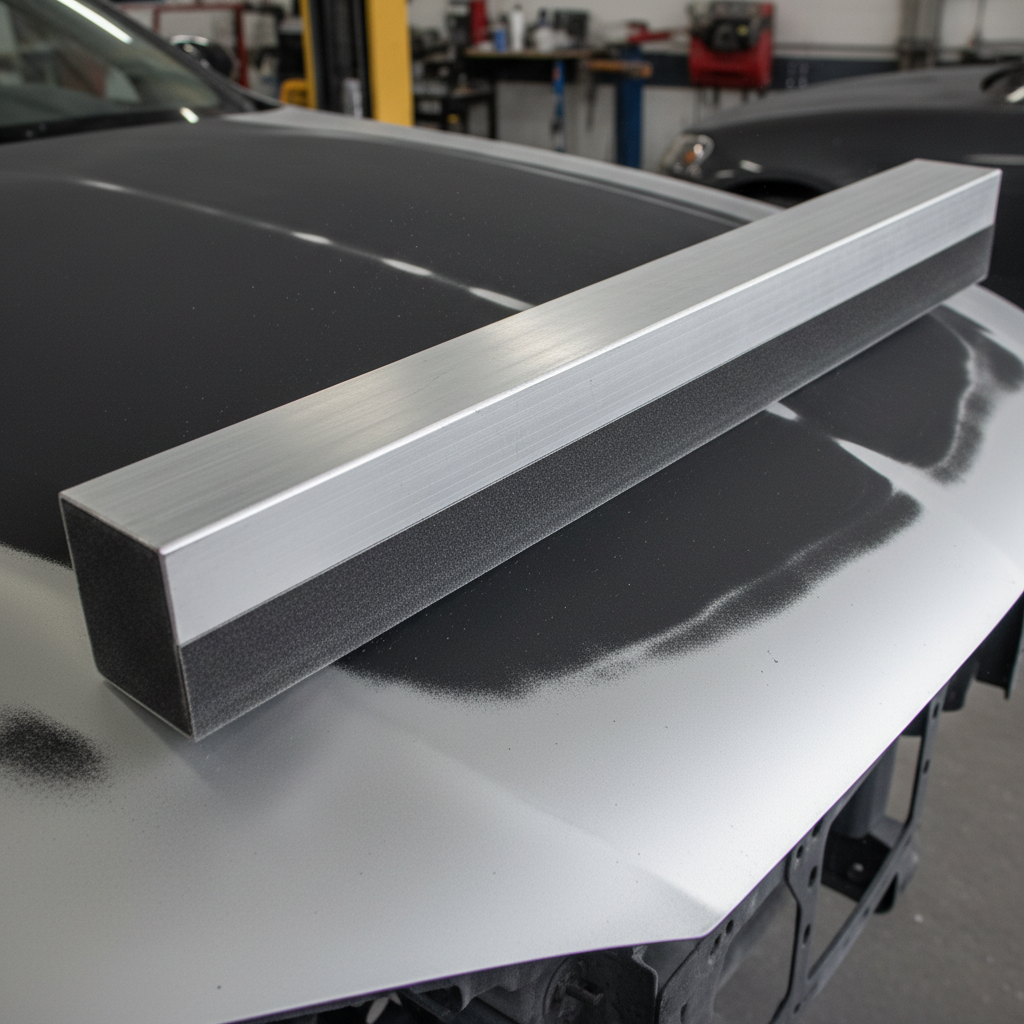
Long aluminum block with 220-grit paper moving across hood surface, guide coat black powder revealing low spots
02 — Block to 320

Guide coat applied over 2K urethane sealer. Blocked at 180, 220, 320. Every panel done twice — once in raking light, once in direct light.

Painter applying deep green pearl base coat to Camaro hood, metallic pearl visible in amber-tinted spray mist
03 — Tri-Stage Base

Black base, then custom-mixed pearl mid-coat in 3 passes, then tinted clear for depth. Flop angle verified under 5 light sources.

Aspect
Tier 1 — Blend
Tier 2 — Panel
Tier 3 — Restoration
Surface Prep400-grit dry sand + feather80→320-grit block sandFull bare-metal strip, phosphoric acid wash
Filler / Primer2K spot primer onlyPolyester filler + 2K high-build primerEpoxy primer + 2K urethane sealer, 2 coats
Base CoatOEM waterborne, 3 coats (blend)OEM waterborne, 3 full-panel coatsCustom-mixed waterborne, 4–5 coats + flop adjustment
Clear Coat2K clear, 2 coats2K clear, 2 coats + wet sand2K clear, 3 coats + cut & polish
Booth Time2–3 hrs5–7 hrs18–26 hrs across 3 sessions
Cure MethodAmbient temp, 24 hrsForced-air 140°F, 45 minInfrared lamp 160°F, staged cure per coat
Typical Price Range$380–$520$900–$1,600$3,200–$5,500+

Our Assessment

There is no shortcut to concours depth. Every hour of prep time is visible in the final gloss. The clear-coat cut and polish alone takes 6 hours — that's what separates a finish you want to touch from one you just want to photograph.

Not Sure What You Need?

Find Your Service Tier

Answer three quick questions and we'll recommend the right prep spec before you book.

Question 1 of 3

What best describes the damage?